The easy, no-bake snack I now prep for busy mornings, walks, and lunchboxes
There’s something about having a go-to snack that just works.
For me, it used to be Perfect Bars.
They were easy, filling, and one of those things I could grab on the way out the door—whether it was for a morning walk, packing a quick lunch, or just needing something between moments of motherhood.
But after buying them over and over again, I had a thought:
Could I make these myself?
So I tried.
And honestly… I don’t think I’m going back.
Why I Started Making Them at Home
It wasn’t just about saving money (although that’s definitely part of it).
It was about:
- Having control over the ingredients
- Making something fresh, simple, and customizable
- Creating a snack I could feel good about giving my daughter and eating myself
And most importantly—
keeping it easy enough to actually stick to
Because if it’s not simple, it doesn’t last.
The Texture I Was Trying to Recreate
If you’ve had a Perfect Bar, you know it’s not like a typical protein bar.
It’s:
- Soft
- Slightly fudgy
- Meant to be kept in the fridge
- Not overly sweet, but still satisfying
That’s exactly what I wanted to recreate—and this version gets very close.
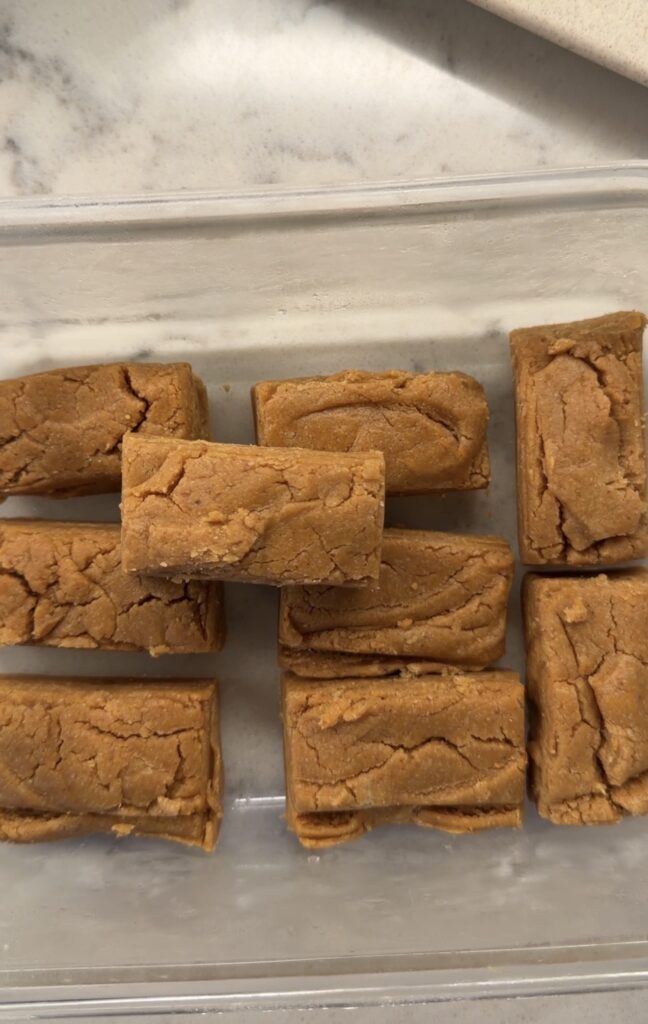
Peanut Butter Perfect Bar (Copycat Recipe)
Ingredients
- 1 cup creamy peanut butter
- 1/4–1/3 cup honey
- 1/4 cup maple syrup (optional, but recommended)
- 1/2 tsp vanilla extract
- 1 cup oat flour (or blended oats)
- 1/4 cup protein powder (vanilla or unflavored)
- 2–4 tbsp milk (almond or regular)
- Pinch of salt
Optional add-ins:
- 1–2 tbsp ground flaxseed
- 1 tbsp chia seeds
- Mini chocolate chips
Instructions
- Mix the wet ingredients
In a bowl, stir together the peanut butter, honey, maple syrup, and vanilla until smooth. - Add the dry ingredients
Mix in the oat flour, protein powder, salt, and any optional add-ins. - Adjust the texture
Add milk one tablespoon at a time until the mixture becomes thick but moldable. - Press into a pan
Line a small dish (like an 8×8) and press the mixture down evenly. - Chill
Refrigerate for 1–2 hours until firm. - Slice and store
Cut into bars and store in the fridge for easy grab-and-go snacks.
Tips for Getting the Texture Just Right
This part matters more than anything.
- Too dry? → Add a little more milk or peanut butter
- Too sticky? → Add more oat flour
- Want it softer? → Increase honey or maple slightly
You’re looking for that soft, dense, slightly fudgy consistency.
How I Actually Use These (Real Life Version)
This is where this recipe really fits into my life:
- Before a morning walk with my daughter
- As a quick lunch add-on when I didn’t prep enough
- Afternoon snack when I need energy but don’t want something heavy
- Cut into smaller squares for easy, snackable bites
Sometimes I even sprinkle a little flaky salt on top—just to make it feel a bit more elevated.
A Small Shift That Adds Up
This is one of those swaps that seems small, but adds up over time.
Instead of:
- Running out to buy more
- Spending more than I need to
- Relying on convenience
I now:
- Keep a batch in the fridge
- Know exactly what’s in them
- Have something ready when life feels full (which is… most days)
Cooking Note
I didn’t have honey so I just opted for the maple syrup and am very happy with the level of sweetness in these.
If You Try It
If you end up making these, I’d love to know how they turn out for you.
And if you’re in a season where you’re trying to simplify—even just a little—
this is one of those small, repeatable things that can make your days feel just a bit easier.
—
With simplicity,
Cecilia